Arts & Entertainment
Stanley-Whitman House Shares Valentine’s Truffles Recipe
Museum taught seven couples Sunday, but you can do it today.
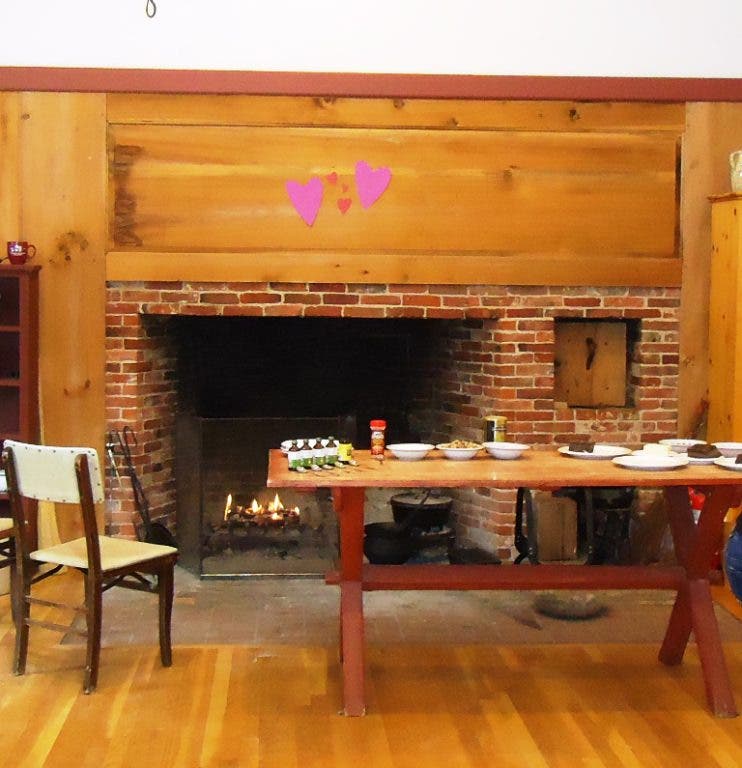


Seven very happy couples shaved chocolate, whipped cream, selected flavorings and rolled in toppings to create their own “decadent chocolate truffles” at the Stanley-Whitman House Sunday afternoon.
Judy Witzke, Heritage Cook, explained the varieties of chocolate, then led the class in the step-by-step process of making truffles. Participants took home an assortment of chocolates along with a set of recipes.
This is the fifth year Witzke has offered the program.
Find out what's happening in Farmingtonwith free, real-time updates from Patch.
Although Valentine’s Day was not celebrated in Colonial times, “it is a fun, educational and delicious activity and brings new people into the museum,” she explained. “We limit it to seven couples and the class filled immediately.”
This was the second year Ashford residents Robert and Bethany Hany came to the event.
Find out what's happening in Farmingtonwith free, real-time updates from Patch.
“Last year Robert planned it as a total surprise for me,” explained Bethany Hany. “I found a sticky note with the details and was apprehensive as we drove out here. I was wondering why we were going to walk around a museum on Valentine’s. When I found out it was a candy-making class, I was so happy because I love to cook. We enjoyed it so much we came back this year and brought our friends, Brooke and Steve Hawkins.” They were equally pleased. “It is fun,” said Brooke. “All couples should do this together.”
Jenilee Terry, of West Hartford, brought her boyfriend, Annas Khan. Both were “really glad we came and will definitely come back next year.”
As a gift to Patch readers, Stanley-Whitman House is sharing the recipe so you too can celebrate Valentine's Day with someone you love by making decadent chocolate truffles.
Chocolate Truffles
The earliest recipe we have for chocolate truffles dates to 1919:
"Chocolate truffles. Dip a plain vanilla cream center, one as small as possible in milk chocolate coating, then before the coating dries, roll each piece in macaroon cocoanut so that the cocoanut sticks to the chocolate. Now lay them on a sheet of wax paper and allow to dry."
–Rigby's Reliable Candy Teacher, W.O. Rigby, 19th edition (p. 84)
For the ganache
- 8 to 10 ounces bittersweet chocolate, finely chopped
- Unsweetened – 100% cocoa solids
- Bittersweet chocolate – ~60% cocoa solids
- Semi-sweet chocolate – ~54% cocoa solids
- Milk chocolate – ~33% cocoa solids
- White chocolate – 0% cocoa solids
- 1 cup (8 ounces) heavy cream
- Adjust the amount based on type of chocolate… slightly less as the cocoa solids decrease
- 1 to 3 teaspoons of flavoring
- Herbs – peppermint, spearmint
- Fruit – strawberry, raspberry, orange
- Nuts – coconut, almond, hazelnut
- Liqueurs – rum, brandy, Amaretto, Kaluha
Make sure that you have chopped the chocolate as finely as possible to allow it to melt quickly and easily. Place the chopped chocolate in a medium-size mixing bowl. Heat the heavy cream in a heavy-bottomed saucepan until bubbles begin to form around the edge of the pan. Make a ganache by pouring about half of the hot cream over the chocolate and letting it sit for 30 seconds to melt the chocolate. Then slowly whisk or stir until smooth and homogenous. Do not add all of the hot cream to the cold chocolate at once; the shock of the temperature extremes would cause the fat in the chocolate to separate. As the chocolate melts, you will see some elasticity if there is no fat separation. This means the chocolate still has an emulsion; the fat molecules are still holding together. If the ganache separates, it loses its elasticity, collapses, and becomes very liquid. Use a hand-held immersion blender to ensure a smooth ganache and to keep the emulsion of the chocolate. Add the remaining cream gradually and mix until all of the hot cream is incorporated and the ganache is smooth and homogenous.
If the ganache separates, it is very easy to fix. Simply add a small amount of cold cream and whisk well. This will bring the ganache back together. The ganache should be thick, shiny, and smooth. Add the desired flavoring and mix until fully incorporated. Pour the ganache onto a plastic wrap-covered or parchment paper-covered baking sheet and spread evenly with a rubber spatula or metal spoon. Allow it to cool for at least 4 hours at room temperature or about 30 to 40 minutes in the freezer. It is ok to make the ganache at the end of the day and let it cool overnight. As it cools, it will thicken and set.
When the ganache has cooled to the consistency of toothpaste, use a teaspoon to scrape and drop small mounds of ganache onto the baking sheet. Let the truffles harden at room temperature for a couple of hours (or in the refrigerator for 15 minutes), until they are hard enough to roll with your hands.
When I roll the truffles, I usually wear surgical gloves. The gloves are not mandatory but if you do not use them, be sure your hands are very clean. To roll the mound into a ball, place a truffle between both palms, squeeze slightly, and roll between your hands. The truffles will look nicer if they are as round as possible. When all the truffles are rolled into balls, they are ready to be coated. If they have become too soft, place them in the refrigerator for 1 to 2 hours until they are firm enough to dip. If garnishing only, the truffles should be slightly soft for the garnish to stick.
The truffles will keep for up to 2 weeks at room temperature, when stored in an airtight container. Recipe makes about 4 dozen depending upon size.
Notes: If you decide to roll the truffles by hand, it is important to make sure your hands are cold. A good trick is to dip your hands in ice water for a few seconds and then dry them. Do this immediately before rolling the truffles. If your hands are too warm and the truffles begin to melt while you are rolling them, re-dip your hands in the ice water, dry them, and proceed.
Option 1 – To enrobe the truffles
- 18 ounces (500 grams) bittersweet chocolate, tempered
- 18 ounces (500 grams) white chocolate, tempered
You can use either a dipping fork or your hands to dip the truffles in chocolate. To use the fork, drop the truffle into the bowl of tempered chocolate and then retrieve it with the dipping fork. Hold the fork over the bowl for several seconds to allow the excess chocolate to drip back into the bowl. Gently scrape the bottom of the fork against the side of the bowl to remove any excess chocolate and roll the dipped truffle in the desired garnish. Place on a parchment paper-covered baking sheet. If you use your hands, dab some chocolate in the palm of one hand. Roll the truffle in that palm to completely coat it with chocolate. Place the enrobed truffle on the baking sheet. Repeat for the remaining truffles. This method is very quick but it can also be extremely messy.
When all of the truffles have been coated once, repeat the enrobing procedure. This is necessary only when you enrobe the truffles by hand rather than with a fork. The truffles are usually more evenly coated when dipped with a fork. As soon as each truffle gets a second coating, immediately roll it in the desired garnish. You need to do this before the chocolate sets or the topping will not adhere. At this stage, it is good to have a friend help because it is hard to dip and roll at the same time. Place the truffles on a clean parchment paper-covered baking sheet and allow them to set, about 5 minutes.
Option 2 – To garnish the truffles
- 1 cup unsweetened cocoa powder, sifted
- 1 cup shredded sweetened coconut, raw or toasted
- 1 cup finely chopped nuts, raw or toasted
- Combination coatings
- Unsweetened cocoa powder and coconut
- Unsweetened cocoa powder and cinnamon (about 1 teaspoon)
Method 1 involves taking the garnish and placing it inside a plastic bag. Put one truffle at a time into the bag and gently shake to coat the truffle. Sometimes a little pressure is required for the garnish to adhere. Method 2 is to put the garnish on a plate and roll the truffle gently until the garnish coats all sides.
Notes: To toast coconut: Preheat the oven to 400°F (204°C). Spread the coconut on a baking sheet and place in the oven for about 3 minutes. Remove from the oven and stir to keep the sugar in the coconut from burning. Return to the oven and toast until golden brown, about 3 more minutes. Remove the baking sheet from the oven and cool on a wire rack.
To toast nuts: Preheat oven to 300°F (148°C). Spread the nuts evenly on a baking sheet and place in the oven. Toast for about 30 minutes, until they are golden brown. You will be able to smell the nuts when they are ready. A good test is to break a nut in half and check to see if it is light brown on the inside. Toasting nuts brings out their natural flavor. Remove them from the oven and allow to cool completely on the baking sheet on a wire rack.